Motel Maniac Controls & Desk Interactions
Master Roblox defaults at the motel desk before the Night Shift Maniac tests your reflexes.
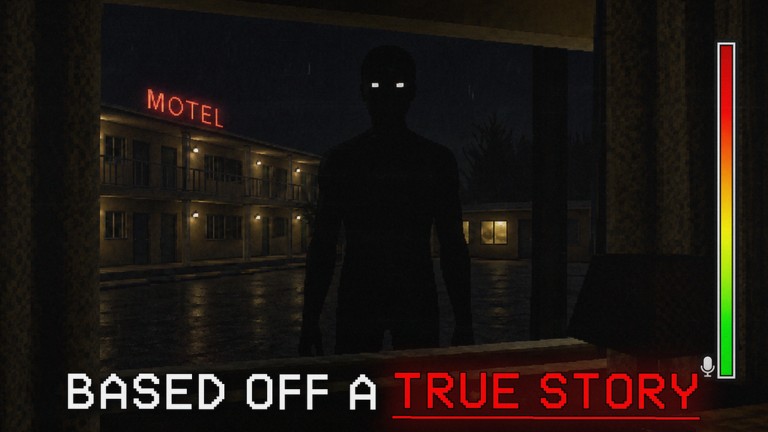
Motel Maniac [HORROR] by Cryptid Horror uses standard Roblox movement plus ProximityPrompt-style interactions at the desk, key board, luggage props, phones, and closets. This controls guide explains what to press on PC and mobile so you never miss a manager call or fail a hide because you stood one stud too far from the prompt. Pair it with Getting Started for story rules and the full walkthrough for beat order. Co-op crews should skim Co-op after learning these binds.
Platform baseline
Cryptid Horror’s experience is free on Roblox (place 89544555099898). Controls follow Roblox defaults unless you remapped them in Settings → Keyboard & Mouse or touch layout. Always test interact distance in the office before the first guest arrives—training is the safest place to learn prompts.
Voice Chat is not supported on this experience. Coordinate with Discord, party chat outside Roblox, or on-screen typing if you play 1–4 player co-op.
PC keyboard & mouse (defaults)
| Action | Default | Motel use |
|---|---|---|
| Move | WASD | Walk office, parking lot, hallways, Room 4 / 9 |
| Jump | Space | Rarely required; avoid jumping during hide prompts |
| Camera | Mouse | Read wall reservation list and key labels |
| Interact / ProximityPrompt | E (or on-screen prompt click) | Phone, ID check, keys, luggage, closet, trash, fuse area |
| Sprint | Shift (if enabled) | Final chase toward Room 4 |
| Hotbar equip | 1–9 / click slot | Equip luggage or gamepass weapon when available |
| Emote / unused | — | Do not emote during hide beats |
If E does nothing, look for a floating prompt and step closer until the fill bar or key hint appears. Desk props are picky about facing angle—square up to the phone, wall list, and key board.
Mobile / touch defaults
| Action | Typical control | Tip |
|---|---|---|
| Move | Left thumb stick | Keep stick light near desks so you do not overshoot prompts |
| Camera | Right drag | Pan to read the reservation list clearly |
| Jump | Jump button | Leave unused during closet sequences |
| Interact | Tap the ProximityPrompt button when it appears | Thumb reach matters—do not cover the prompt with UI |
| Hotbar | Tap inventory / hotbar slot | Equip luggage before following Lester to Room 5 |
On smaller phones, rotate to landscape for the wall list. Zoom the camera so guest names are readable before you commit a key.
Desk interaction loop
The night clerk loop is interaction-heavy:
- Manager phone — Walk into the office, face the phone, trigger the prompt, and finish the briefing. Skipping distance checks here teaches bad habits for later calls.
- Guest greeting — Stand at the counter when a customer arrives. Use interact when the check-in prompt appears.
- ID versus wall list — Physically look at the reservation list on the wall. Camera aim matters more than a hotkey. Confirm the name before touching keys.
- Key board — Interact only after the list check passes. Grabbing keys early is a control habit that causes story mistakes with guests like Harry (refuse—he is not listed).
- Refusal — When someone is unlisted or banned, use the dialogue / refuse path the prompt offers. Do not invent a second interact on the key board.
Practice this loop until your hands move list → decision → key without panic. Story context for Karen, Harry, and Lester lives on the Players Hub.
Luggage and hotbar
Lester asks for Room 5 luggage help about three times. When luggage becomes an inventory or world prop:
- Equip the correct hotbar slot before you walk.
- Follow Lester’s path without sprinting past the drop-off prompt.
- Complete the interact at the destination; unequip only after the beat confirms.
In co-op, only one player should equip and carry each luggage assist so prompts do not fight. Full Lester routing is covered in Lester and Real Ending.
If you own a gamepass weapon for Secret Ending, keep it unequipped during early desk work, then equip before the final chase so a mis-tap does not interrupt trash or closet prompts.
Closet hide controls
Two major hides demand clean ProximityPrompt timing:
Room 9 break-in
When the late-night visitor turns hostile, move into the room, find the closet, and trigger hide. Stay in cover until the search ends. Leaving early—jumping, walking out, or spamming interact—feeds the You Were Caught badge path. See Badges.
Room 4 Real Ending
After the car fails and the Night Shift Maniac advances:
- Sprint (Shift on PC if available) toward open Room 4.
- Enter so the door can close.
- Interact to hide in the closet immediately.
- Do not peek, jump, or re-open the door.
Map context for these rooms is in Motel Map. Ending comparisons sit in Endings.
Trash, maintenance, and fuse prompts
Parking-lot trash pieces are individual interacts. For Elite Employee, finish all trash while someone knocks—that means staying in the lot, mashing through remaining prompts, and only then committing to the door conversation. Dedicated timing guide: Elite Employee.
Maintenance / bathroom tasks and the fuse box area during the fake repairman beat also use proximity interacts. Face the prop, wait for the prompt, and avoid standing inside collision that blocks teammates in co-op.
Camera and readability tips
- Raise graphics just enough to read nameplates and wall text.
- On PC, lower mouse sensitivity slightly for precise list reading.
- On mobile, pinch-zoom when checking IDs if the UI allows.
- Keep headphones on; knocks and phone rings are audio cues tied to prompts you must answer.
Common control failures
| Problem | Likely cause | Fix |
|---|---|---|
| Phone will not answer | Too far / wrong facing | Step closer; center camera on phone |
| Key handed to Harry | Skipped wall list | Look at list before key board interact |
| Closet ignore | Prompt not active yet | Wait a beat; stand inside closet trigger |
| Luggage stuck | Wrong hotbar slot | Equip correct slot; re-approach drop prompt |
| Co-op soft lock | Four players spam one E | Assign one interactor per beat—see Co-op |
| Chase death at car | No sprint commit | Hold sprint toward Room 4, then hide |
Accessibility and remaps
Roblox allows remapping. If you change Interact off E, write the new key on a sticky note before the shift—finale panic is the wrong time to remember a custom bind. Mobile players with claw grips should place the interact button where the right thumb can tap without releasing the camera during chases.
Practice drill (five minutes)
- Join a fresh server alone.
- Answer the manager phone cleanly twice if the intro allows restart practice—or replay until the motion is automatic.
- Walk office → parking lot → a hallway door → back to desk without sprinting.
- Stand at the closet in any accessible room and confirm you understand the hide prompt silhouette.
- Only then invite friends or continue into guest check-ins.
Related guides
- Getting Started — rules behind the prompts
- Walkthrough — when each interact appears
- Co-op — who should press what
- Motel Map — where prompts live in space
Controls will not win the night alone, but bad binds lose it instantly. Learn the desk, luggage, and closet trio, and every later guide becomes easier to execute.
Frequently Asked Questions
Quick answers for night-shift clerks and co-op survivors.
What key interacts with phones, keys, and closets in Motel Maniac?
On PC, use the default Roblox interact key (usually E) when a ProximityPrompt appears. On mobile, tap the on-screen prompt. Step closer if nothing shows.
Does Motel Maniac support voice chat?
No. The experience lists Voice Chat as not supported. Use external voice apps or text if you play co-op.
How do I hide in a closet?
Enter the room, stand at the closet, trigger the hide ProximityPrompt, and stay put until the search ends. Do not jump out early.
How do I carry Lester’s luggage?
Equip the luggage from your hotbar when the beat provides it, follow Lester to Room 5’s drop-off, and complete the interact there. Help about three times across the night.
Should I remap controls before my first clear?
Only if you already have a comfortable Roblox layout. New players should keep defaults until they finish one Real Ending run.